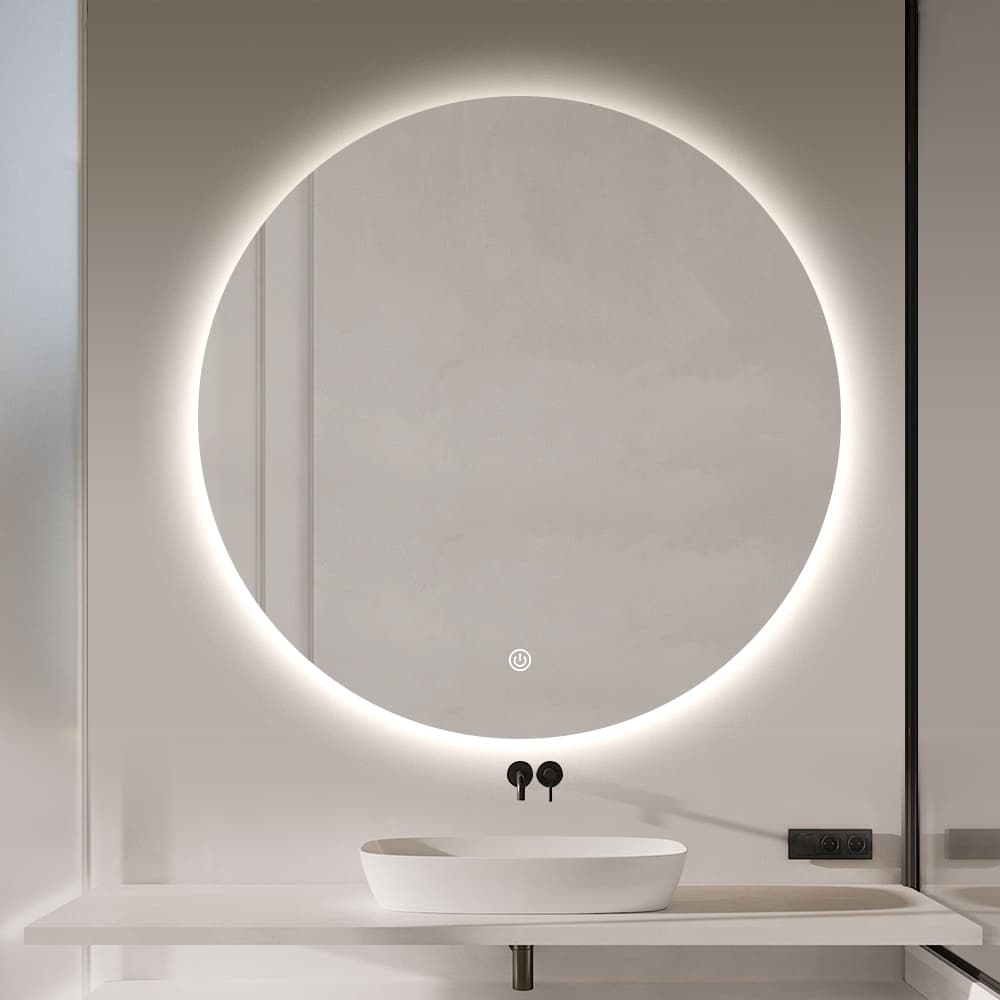
A glowing, fog-free LED mirror transforms any bathroom into a modern, hotel-grade space — but only if it is installed correctly. A poorly mounted mirror is not just an eyesore; it can be a safety risk and a costly after-sales headache.
The good news? Installing a round LED mirror is a straightforward DIY job that most people can complete in under 30 minutes. Today, we use our best-selling round 80 cm model (CTL202) as the example to walk you through the entire process — from checking your wall to testing the touch sensor — so you (or your customers) get a secure, perfectly functional installation the first time.
1. Product at a Glance
Before picking up a drill, familiarise yourself with what you are working with:
Specification | Detail |
|---|---|
Product Name | CTL202 |
Size | Ø 80 cm (round) |
Power Source | 230–240 V, 50 Hz |
Mirror Glass | 5 mm copper-free mirror |
LED | 2835 LED, 3000K–6000K (adjustable) |
Certification | CE, IP44, RoHS |
Why these specs matter to buyers:
5 mm copper-free mirror
— delivers a clearer, truer reflection and resists black-edge corrosion in humid bathrooms far better than standard mirrors.
IP44 rating
— splash-proof, designed for bathroom zones 2 and beyond. Safe around sinks and washbasins.
Adjustable 3000K–6000K
— one mirror covers warm, neutral and cool lighting, reducing SKU complexity for distributors.
CE & RoHS
— compliant for sale across the EU and most global markets.
2. Before You Start: Tools & Safety
Tools Required
Measuring tape
Pencil (for marking)
Hammer drill + correct masonry drill bit
Hammer
Screwdriver (Phillips or flat, matching your screws)
Spirit level (recommended for alignment)
Safety First
Check the wall.
The mirror must be installed on a load-bearing wall that can safely support its weight. Drywall alone is usually not sufficient without proper anchors.
Keep small parts away from children.
The package contains dowels, screws and small components — a choking hazard for small kids.
Switch off power before any electrical work.
If you plan to hardwire the mirror (Connection Way 2), turn off the circuit breaker first and, ideally, have a qualified electrician do the connection.
Check the package contents first.
Open the box carefully and confirm every part from the checklist is present before you start — and keep the packaging until installation is complete.
3. Step-by-Step Installation (7 Steps)
Step 1 — Confirm the wall can carry the mirror
Ensure the installation wall is a solid, load-bearing wall (concrete, brick or solid block). If you are mounting on plasterboard, use heavy-duty hollow-wall anchors rated for the mirror's weight.
Step 2 — Measure the mounting holes
Lay the mirror face-down on a soft, clean surface. Measure the distance between the centers of the two mounting holes on the back of the mirror. Write this number down — it is your drilling template.
Step 3 — Mark the wall
At the chosen installation height (eye level for most bathrooms, typically 150–160 cm from floor to mirror center), use the measuring tape and a pencil to mark the two center points on the wall, exactly matching the hole-to-hole distance from Step 2.
Pro tip: Use a spirit level to draw a faint horizontal line between the two marks — this keeps the mirror perfectly level after hanging.
Step 4 — Drill the holes
Using a hammer drill with the correct masonry drill bit, drill a hole at each marked point. Match the drill bit size to your dowels. Clear the dust from the holes.
Step 5 — Insert the dowels
Gently tap the plastic dowels into the drilled holes using a hammer until they are flush with the wall surface.
Step 6 — Screw in the screws — leave 5 mm exposed
Drive the screws into the dowels, but stop while approximately 5 mm of each screw head remains exposed above the wall. This small gap is what the mirror's keyhole slots grip onto.
Step 7 — Hang the mirror and test
Carefully lift the mirror and align the mounting slots on its back with the two screw heads. Lower it into place and check it sits securely. Then connect the power and test the touch sensor — touch it once to switch the light on, touch again to switch off.
4. Wiring: Two Connection Methods
Your LED mirror can be powered in two ways. Choose the one that best fits the bathroom layout and local regulations.
Connection Way 1 — Plug into a wall socket (simplest)
Insert the 2-pin plug into a standard wall socket. This is the fastest option and requires no electrical work — ideal for rental properties or quick retrofits. Ensure the socket is positioned within reach of the mirror's power cord and is protected by a suitable circuit (RCD/GFCI recommended in bathrooms).
Connection Way 2 — Direct wiring to wall switch (hardwired)
Cut off the plug and connect the mirror's wires directly to the wall switch wiring. This gives a cleaner, permanent look with no visible cables.
IMPORTANT: Hardwiring must be done by a qualified electrician in compliance with local electrical codes. Always isolate the power at the circuit breaker before starting.
5. How to Use: Touch Sensor Guide
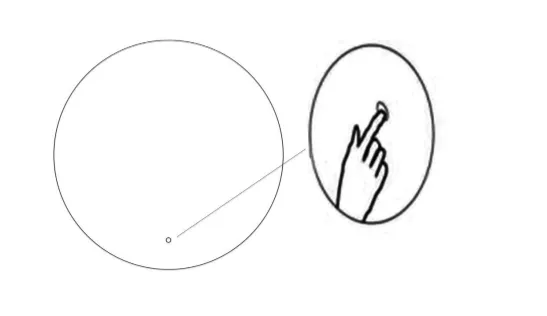
The mirror uses a single smart touch sensor — no remotes, no complicated buttons.
Action | Result |
|---|---|
Brief press | Turn LED light on / off |
Press again while light is on | Turn on anti-fog function (sensor glows blue) |
Press and hold | Adjust color temperature: warm → neutral → white (3000K–6000K) |
Brief press (anti-fog active) | Turn off light and anti-fog together |
Anti-fog tip: Switch on the anti-fog function before you shower, and the mirror stays crystal clear — no more wiping condensation off the glass every morning.
6. Cleaning & Maintenance
Keep your LED mirror looking new for years:
Always switch off the power before cleaning.
Wipe with a soft, damp cloth and dry immediately.
Never
use abrasives, solvents or harsh, corrosive cleaners — they will damage the mirror coating and LED diffuser.
let water enter the mirror or submerge it in water. The IP44 rating means splash resistance, not waterproofing.
Keep the bathroom well ventilated and avoid prolonged damp environments.
7. Common Mistakes & Troubleshooting (FAQ)
Q: The mirror won't light up after installation.
A: Check the wall socket is live and the plug is fully inserted. If hardwired, verify the wiring with a qualified electrician and confirm the circuit breaker is on.
Q: The mirror is not level.
A: Loosen the screws slightly, level the mirror, and re-tighten. This is why a spirit level at Step 3 is worth the extra minute.
Q: The light is flickering.
A: Usually a loose connection. Turn off the power and re-check the plug or wiring connections.
Q: Can I mount this on plasterboard?
A: Yes, but only with heavy-duty hollow-wall anchors rated for the mirror's weight. For the Ø 80 cm model, we recommend a solid load-bearing wall whenever possible.
Q: The anti-fog function doesn't seem to work.
A: Make sure you press the sensor a second time after the light is on — the blue indicator confirms anti-fog is active.
8. For Trade Buyers: Why Choose Our LED Mirrors
Whether you are a wholesaler, distributor, hotel project manager or e-commerce retailer, our LED mirrors are built for hassle-free business:
Simple installation = fewer after-sales issues.
The 7-step process above means even first-time end users can mount the mirror themselves, cutting down returns and support tickets.
Compliant by design.
CE, IP44 and RoHS certification means smoother customs clearance and fewer compliance questions in the EU and beyond.
Copper-free glass technology.
A genuine differentiator at retail — customers can see the quality difference.
Flexible color temperature (3000K–6000K).
One SKU serves multiple interior styles, simplifying your inventory.
OEM/ODM support.
Custom sizes, finishes, logos and packaging available for bulk orders.
Interested in stocking our LED mirrors? Contact our team for wholesale pricing, samples, and a full catalog of sizes and styles. We ship worldwide with professional export packaging.