An LED bathroom mirror is usually one of the last fixtures mounted on the wall during a construction or renovation project. However, the technical details needed to prepare for its installation must be finalized much earlier, long before the drywall is sealed or tiles are laid.
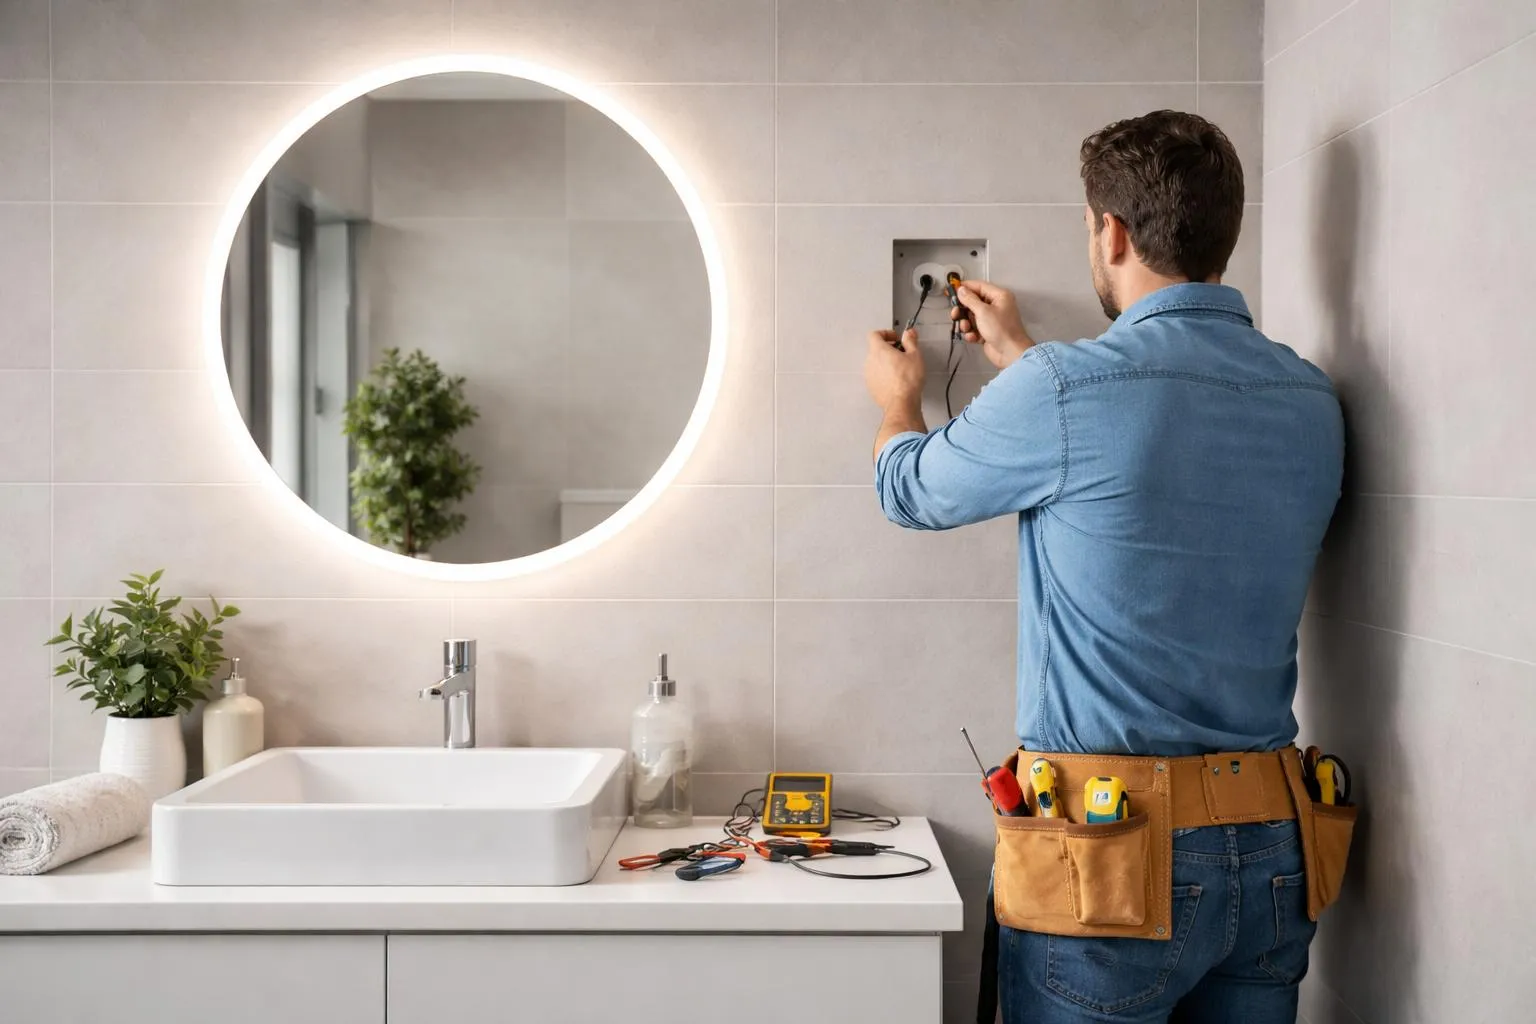
In construction, early wall wiring is commonly called electrical rough-in. The basic rule is simple: the required electrical supply, conduit routing, and connection points must be confirmed before the relevant work is concealed behind finished walls.
If cable exit points are not planned before the mirror arrives on site, project teams risk having cables emerge outside the mirror's outline, junction boxes physically colliding with mounting brackets, or unappealing gaps between the frame and the finished wall.
Discovering these errors after tiling is complete means cutting into finished walls, risking broken tiles, and incurring expensive rework. Avoiding these issues simply requires getting the exact model specification drawing into the hands of your electrician and site team during the electrical rough-in stage.
1. Why Electrical Preparation Must Happen Before Wall Closing
Mirror installation and electrical rough-in take place at different stages of a project. While the mirror is installed during final trim-out, the electrical preparation behind the wall must be completed weeks earlier, before the wall is closed.
Whether the job site involves framed drywall (where wires and back-boxes are set before drywall panels go up) or solid masonry walls (where channels must be chased into brick or concrete before plastering), electrical rough-in cannot be easily altered after wall finishes are applied. Rerouting buried cables after tiling or plastering requires heavy demolition and expensive wall repairs.
During bathroom construction, several installation issues can lead to costly rework and project delays:
Model Swaps After Wiring: Even if two mirrors share similar outer dimensions, their rear mounting points, internal chassis profiles, and power entry coordinates can differ. Swapping models midway through construction can cause the pre-routed wire to misalign with the new mirror's cavity.
Wiring vs. Bracket Collisions: Placing an electrical box purely based on general room symmetry, without checking the mirror's technical drawing, can cause the box to sit directly behind a load-bearing mounting cleat.
Damaged Finishes: Relocating a misplaced wire after tiling may require removing finished tiles and disturbing waterproofing membranes, leading to costly change orders and delays for other trades.
2. Key Technical Factors Impacting Electrical Rough-In
Before pulling wire or fixing a box position, project teams must verify several core technical parameters from the supplier's specification sheet and installation manual.
Connection Methods & Depth Clearance
The mirror's power connection method determines the space and electrical provisions required behind the wall and within the mirror's rear cavity.
For a hardwired connection using a recessed junction box (J-box), the box, wiring, and connectors must fit within the available wall cavity and mirror clearance. The box location must also remain clear of the mirror's mounting brackets and other rear structural components.
For a surface-mounted junction box or a standard plug-in connection, site teams must check the additional space required by the box, plug, and connected wiring. These components must not prevent the mirror from sitting in its intended position against the finished wall.
Before fixing connection points, cross-reference the mirror's power entry location, rear chassis dimensions, mounting bracket positions, and connection requirements against the technical drawings and installation instructions for the exact model.
Continuous Power Requirements
The mirror's power supply should be planned according to its electrical design and intended operation. Project teams need to confirm whether the mirror is designed to operate with the room's switched lighting circuit or requires a continuous power supply for certain functions. The wiring arrangement should follow the manufacturer's instructions and project requirements, with the necessary power connections determined before the wall is closed.
External Driver Wiring
If a mirror uses a remote (external) LED driver rather than an integrated module, electricians must pre-lay low-voltage DC wiring from an accessible, ventilated location (such as an adjoining vanity cabinet or ceiling cavity) to the mirror's power entry point before walls are closed. Because LED drivers differ in their input and output specifications, wiring requirements, permitted installation locations, and environmental limitations, site teams should consult the documentation for the specific driver model.
3. Fitting Mirror Preparation into the Site Construction Timeline
To prevent trade overlap and ensure seamless execution, align electrical mirror preparation with broader bathroom construction steps.
Stage 1: Structural Prep & Conduit Chasing (Before Drywall/Plastering)
Set internal wall framing or chase conduit channels in concrete walls based on the mirror's intended height and centerline.
Stage 2: Electrical Rough-In (Concealed Work)
Electricians route power cables, position recessed junction boxes, and install low-voltage wiring where required, following the coordinates provided in the manufacturer's technical drawings.
Stage 3: Wall Closing & Surface Finishing
Drywall, waterproofing membranes, wall tiles, or stone cladding are installed over the inspected rough-in work. Power leads remain safely recessed behind finished surfaces.
Stage 4: Final Trim-Out & Mounting (After Finishes Dry)
Unpack the mirror on site and verify the mounting bracket positions against the actual product dimensions and installation instructions before drilling into finished walls. Complete the electrical connections and test the controls.
4. Project Responsibility & Handover Matrix
Use this matrix to assign clear trade accountability across different stages of the project.
Project Phase | Key Deliverable / Action Item | Lead Role | Common Coordinating Roles |
|---|---|---|---|
Pre-Construction | Lock in SKU, confirm control preferences, and obtain model-specific technical documentation. | Project Manager / Buyer | Mirror Supplier, Designer |
Technical Review | Verify connection point coordinates against mounting cleats, studs, and spatial clearances. | General Contractor | Electrician, Mirror Supplier |
Concealed Work | Route wiring, set connection points, and complete any inspections required by applicable rules and project specs. | Electrical Contractor | Site Inspector, Framing/Drywall Crew |
Wall Finishing | Complete drywall, waterproofing, and tiling while maintaining protected power feed locations. | Tile / Drywall Contractor | General Contractor |
Final Trim-Out | Verify physical product dimensions (if required), drill mounting brackets, complete connections, and test. | Mirror Installer / Electrician | Site Superintendent, Quality Lead |
Frequently Asked Questions
Does the physical LED mirror need to be on site during electrical rough-in?
Not always. Electricians can generally route cables and set connection points using manufacturer-provided technical specification sheets. However, if product instructions specify verifying physical hardware dimensions before drilling, final bracket positioning should wait until the mirror is unpacked on site.
If I use a hardwired connection with a recessed junction box, does that eliminate depth issues?
Not automatically. While a recessed box reduces wall protrusion, installers must still verify the space required for wiring components, the mirror's internal rear structure, and manufacturer clearance guidelines to ensure the unit sits flush against the wall.
Does an external LED driver always require a dedicated wall access panel?
Not necessarily. A dedicated wall access panel may not be required, but the driver must be installed in a location that meets the product's accessibility, ventilation, and wiring requirements. For electrical safety in wet areas (such as bathrooms with a bath or shower), local regulations may adopt standards like IEC 60364-7-701:2019. Always check product documentation and confirm which local rules apply to your project.
Final Takeaway
Successful LED mirror installation depends on having the right information available at the right stage of the project. By confirming the exact model, obtaining technical drawings early, and coordinating electrical connection points with the mirror's rear mounting structure before closing the wall, project teams can reduce costly on-site rework.